Stage Settings
To find out more about what stages are, click here.
Administrators only
Administrators can Add a Stage. Read more about how to add a stage here.
Once a stage is added, administrators can edit the settings of that stage by selecting the “Stage name” > Settings from the side navigation pane.
Under Settings you can enable the stage by switching the ‘Enable Stage’ button. Enabling a stage allows members of the project to begin reviewing in that stage. You can temporarily disable whilst you configure the stage, and re-enable when ready.
Note that it is not possible to delete a Stage once it has been added to project. It is only possible to edit the settings of the stage including disabling the stage so that it is not available to Reviewers on the project.

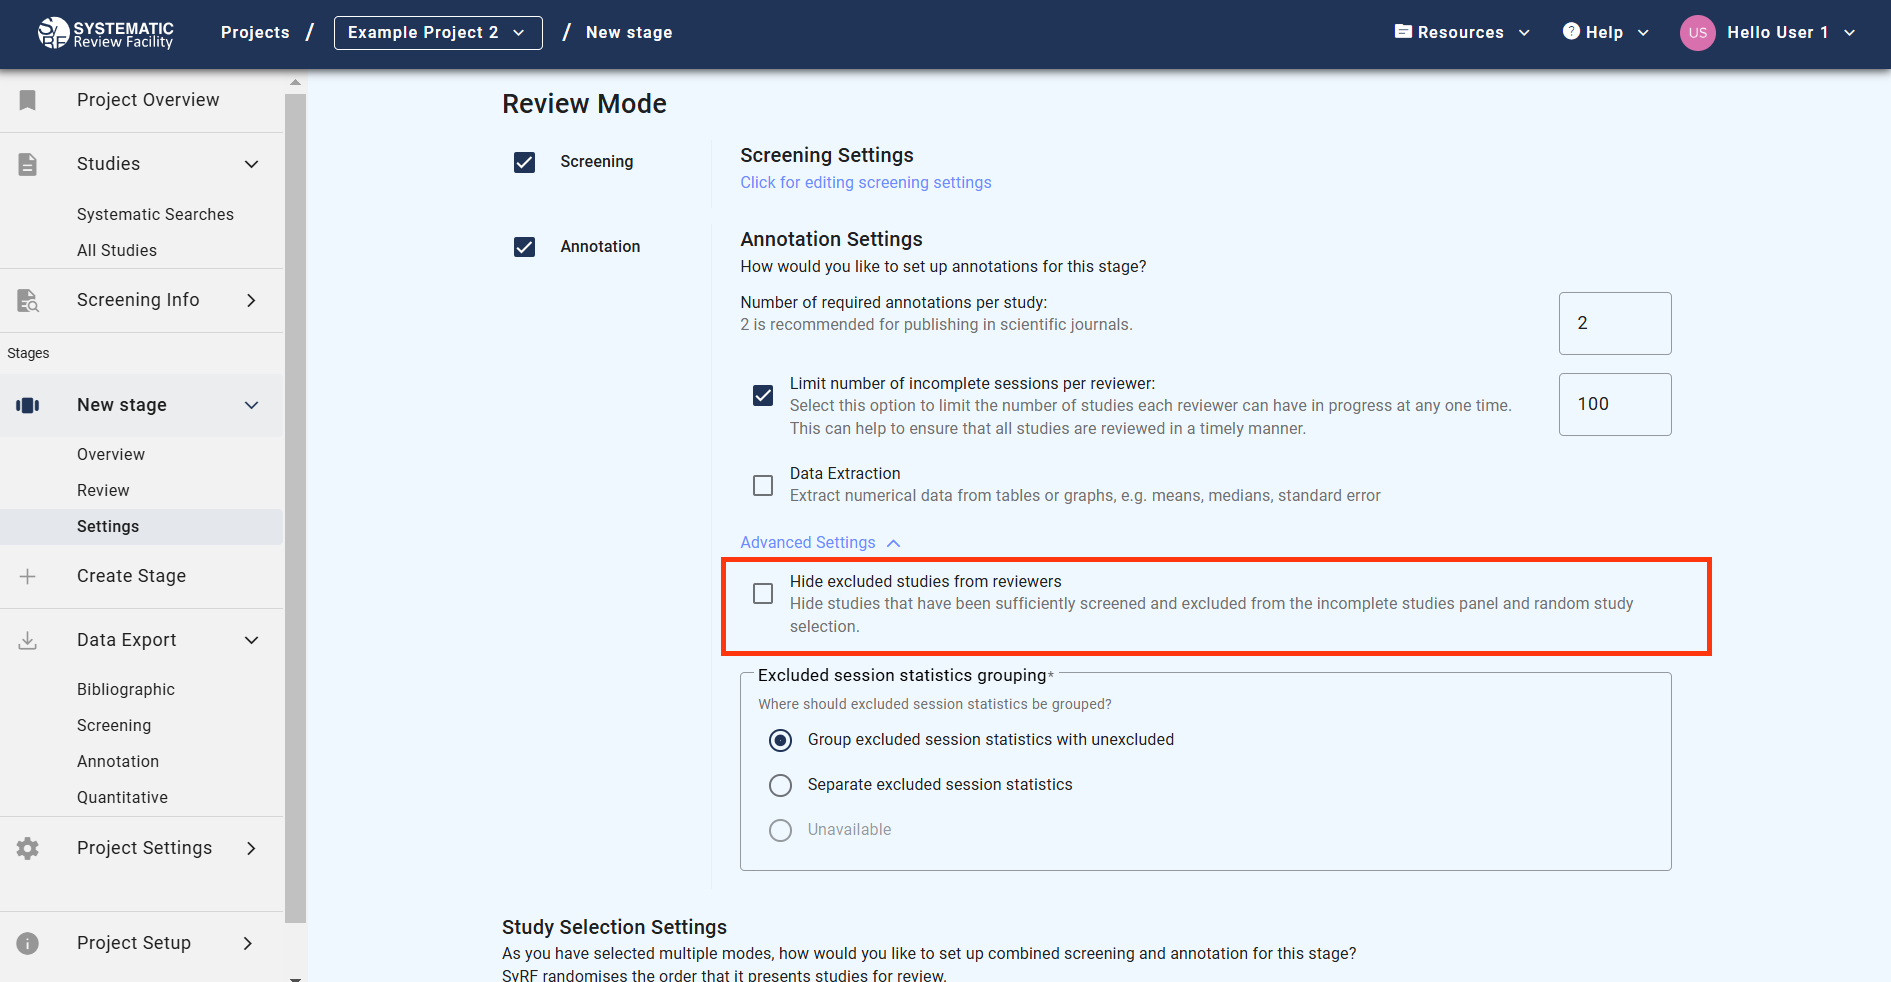
Review Mode
Under “Review Mode”, project administrators can configure various settings for stages with screening and annotation, such as: include and decide which capabilities to add to your stage, e.g. screening, annotation and data extraction, by selecting these modes using the checkboxes.
Screening
Screening Settings can be edited by clicking the link ‘Click for editing screening settings’. If you choose both screening and annotation, you will be asked to choose how to combine these tasks under Study Selection Settings.
Specifically, the options are:
- All studies require screening, but annotation is optional
- All studies require annotation, but screening is optional
- All studies require both screening and annotation
Read more about these options in Stages.
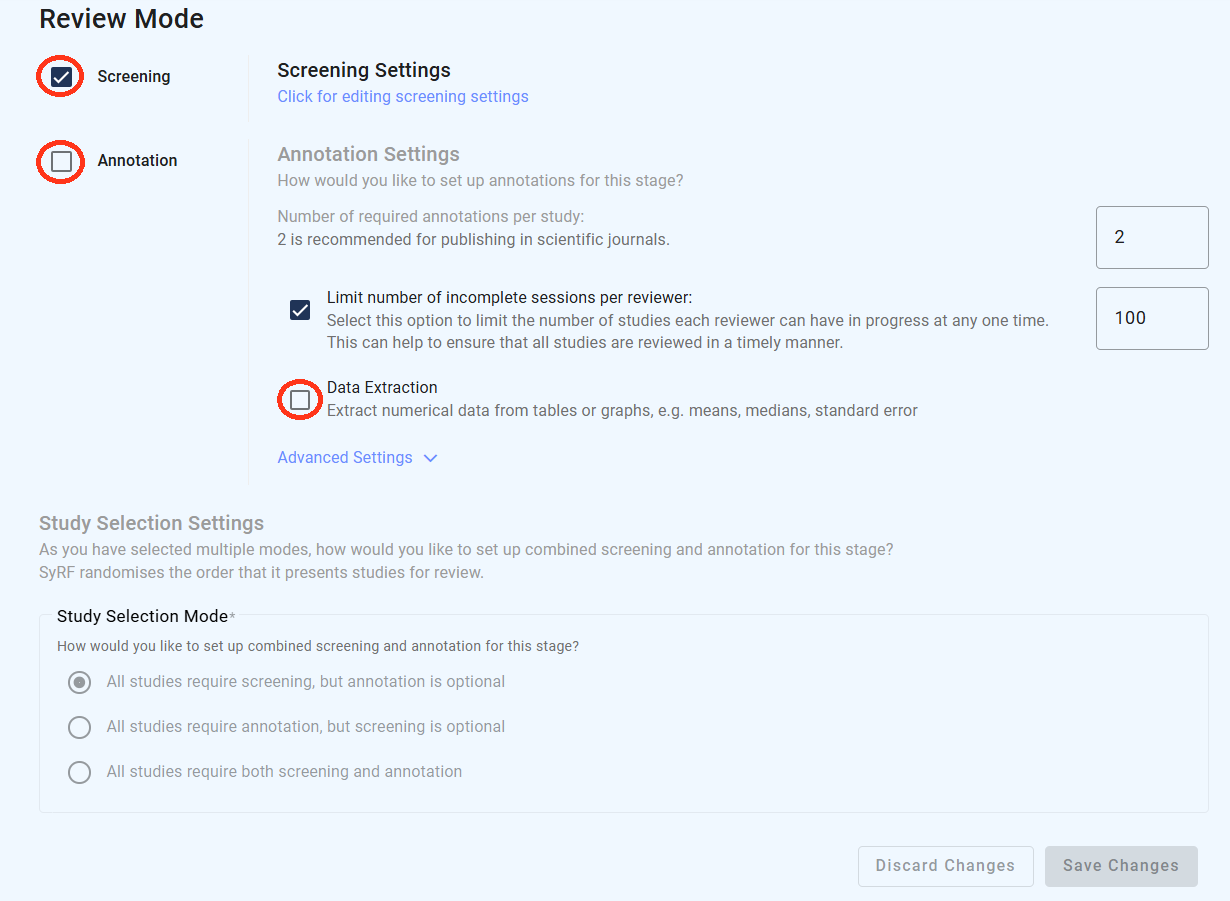
Annotation
If annotation is selected, multiple options are presented.
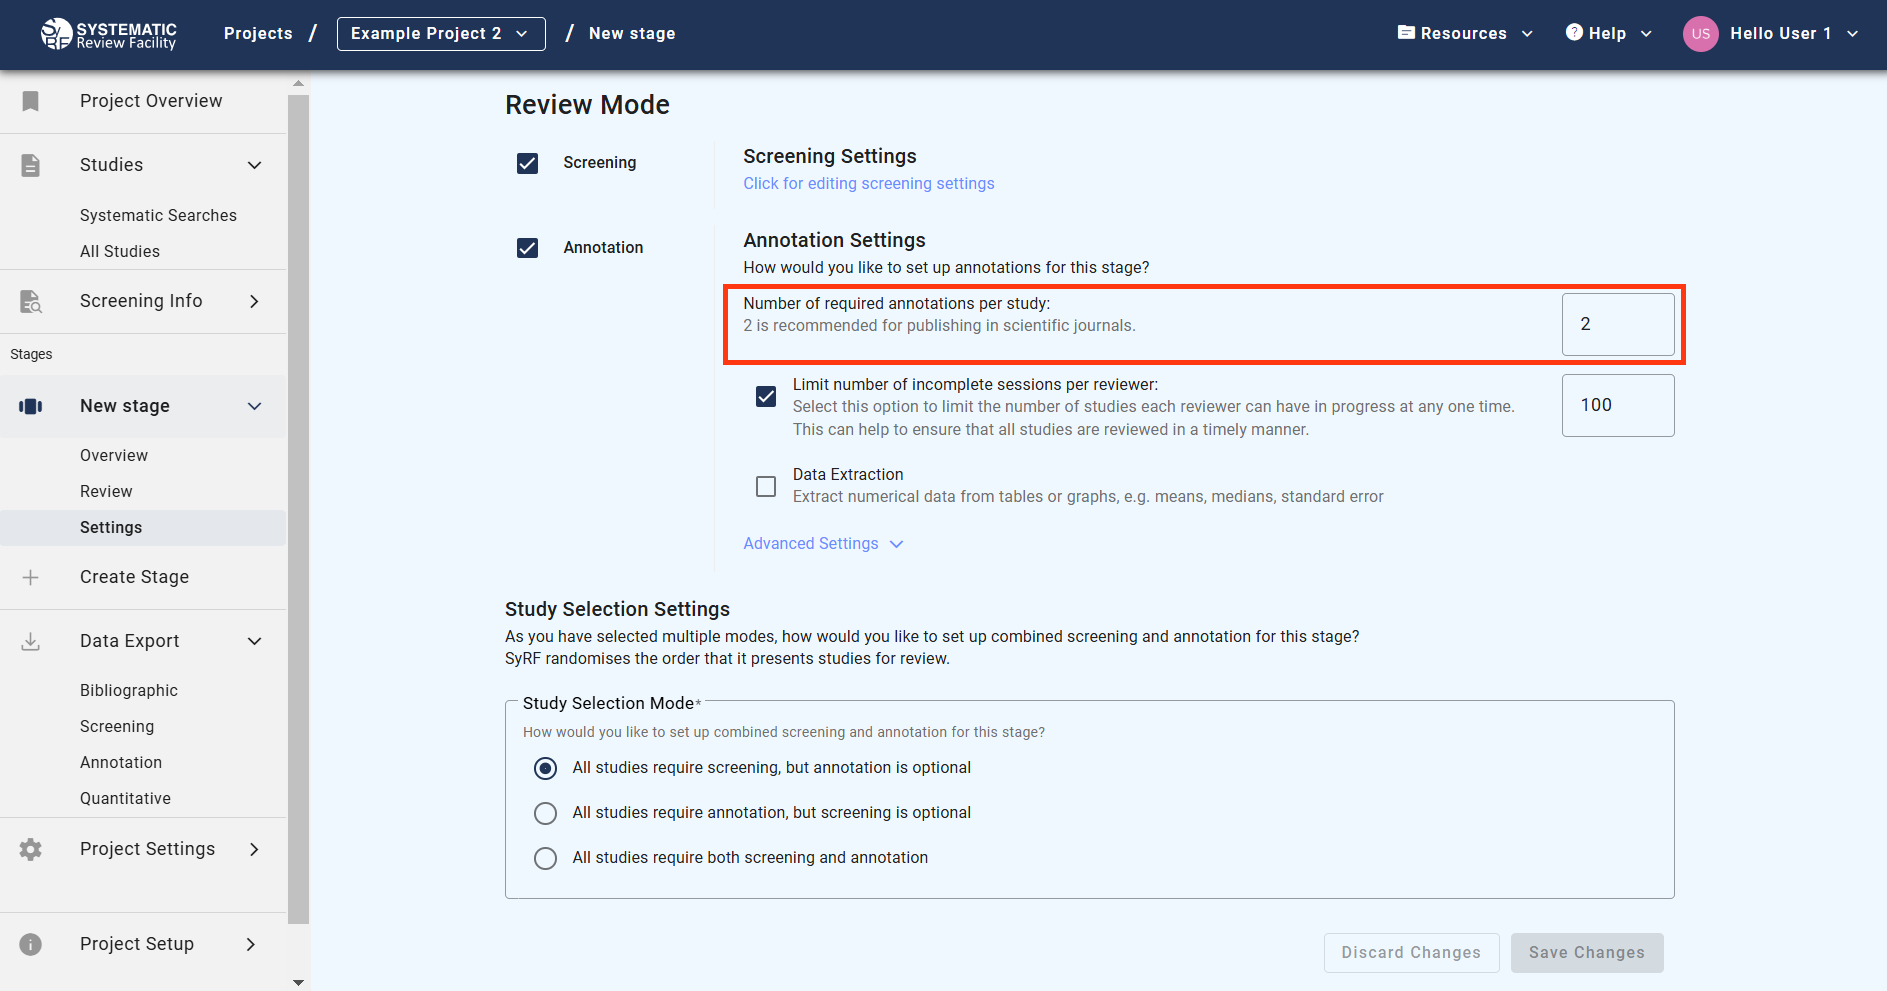
Number of required annotations per study - Project administrators can adjust the “number of required annotations per study” for their project project. This represents the number of independent reviewers who can annotate each study. Adjust the number in the input box by using the arrows or simply type a number. This input box only accepts whole numbers. We recommend two independent reviewers annotate each study in your systematic review, this is typically required for publication in scientific journals, and this is the default option. For student projects or other projects where two independent reviewers are not required to annotate each study, it is an option to decrease the number of reviewers.
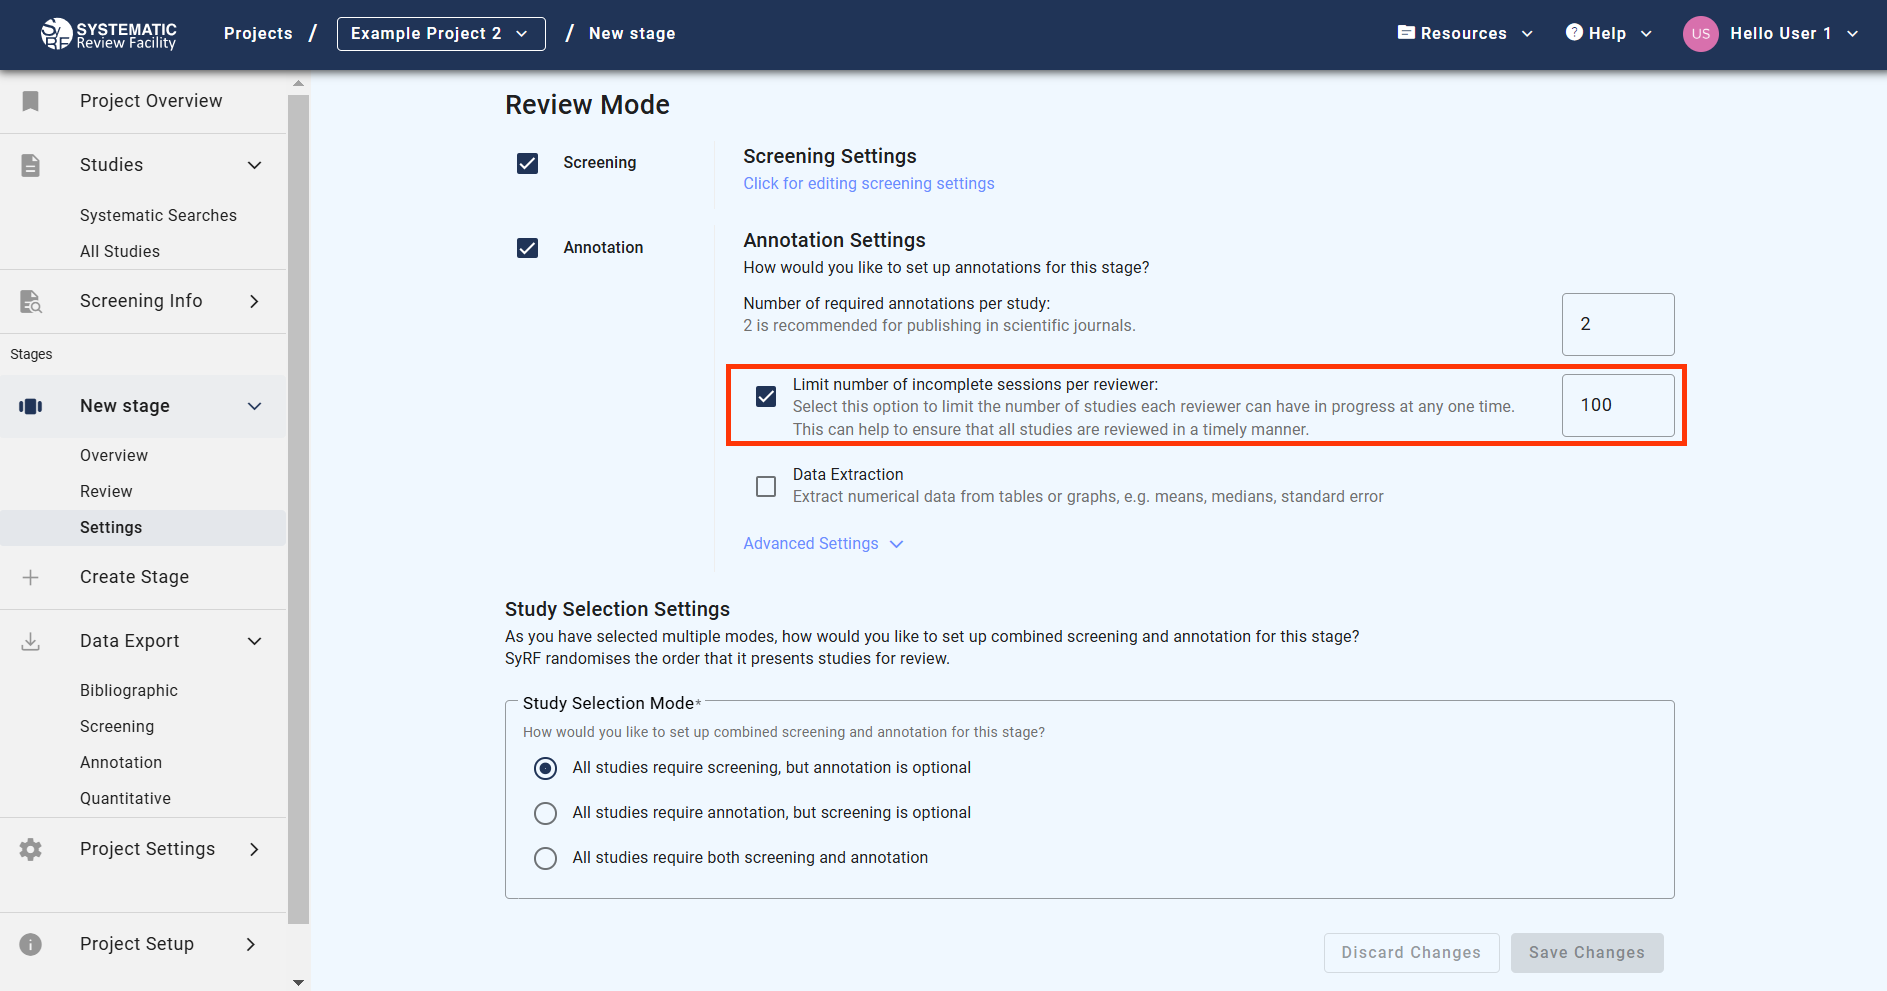
Limit number of incomplete sessions per annotator - Project administrators can now limit how many annotation sessions with the status “in progress” each reviewer on their project can have. When a reviewer reaches this limit, they will not be able to begin annotation of further studies without completing annotations on these “in progress” or saved studies. Therefore this number is the maximum number of “in progress” or studies with incomplete annotations a reviewer can have saved. Adjust the number in the input box by using the arrows or simply type a number. This input box only accepts whole numbers. Currently, by default, this option is ticked and the limit is set to 100 studies. To reduce the number of annotation sessions a reviewer can have in progress at one time, reduce the number.
Advanced Annotation Settings
By clicking the arrow to reveal the “Advanced Settings”, there are multiple options presented.
![]()
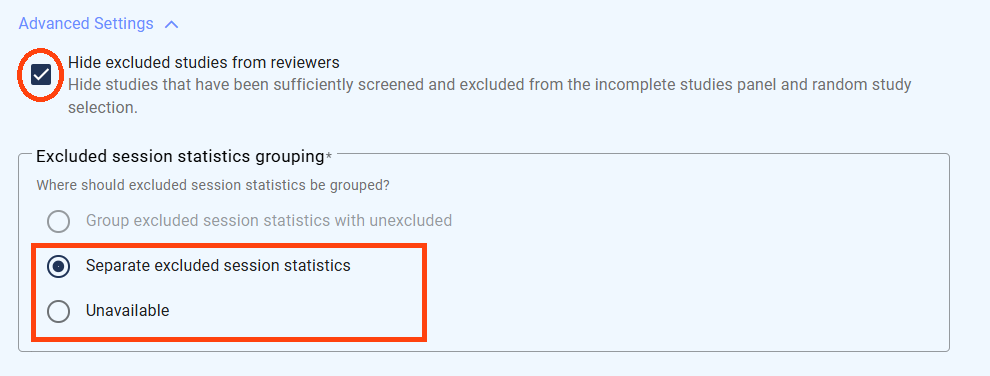
Hide excluded studies from reviewers - To configure advanced settings for stages with “annotation”, project administrators can choose to show or hide studies that have been sufficiently screened and excluded by reviewers in the project. Hiding studies (ticking the checkbox) will mean that the annotations are not presented to other reviewers, and if a reviewer has this study in the “incomplete studies” section, it will be removed.
Once certain studies are sufficiently screened, there is an option to hide these excluded studies from the “incomplete studies” panel seen on the screening stage by selecting the “hide excluded studies from reviewers” checkbox.
There are 2 options for how the statistics for excluded studies are grouped, and each option has further configurable options indicating how the statistics for excluded studies are presented in the annotation progress bar: 1) When “Hide excluded studies form reviewers” is not ticked:
- Group excluded session statistic with unexcluded
- Separate excluded session statistics
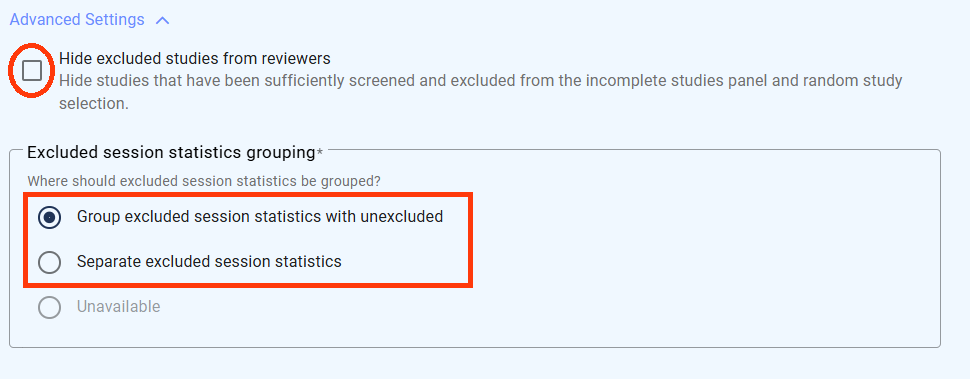
2) When “Hide excluded studies from reviewers” is ticked:
- Separate excluded session statistics
- Unavailable
Where “Unavailable” means that the excluded studies are categorised as “Unavailable” on the progress bar.